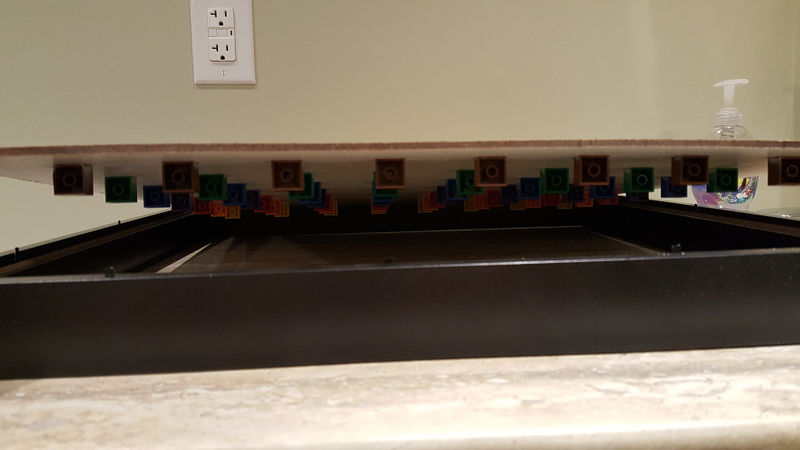
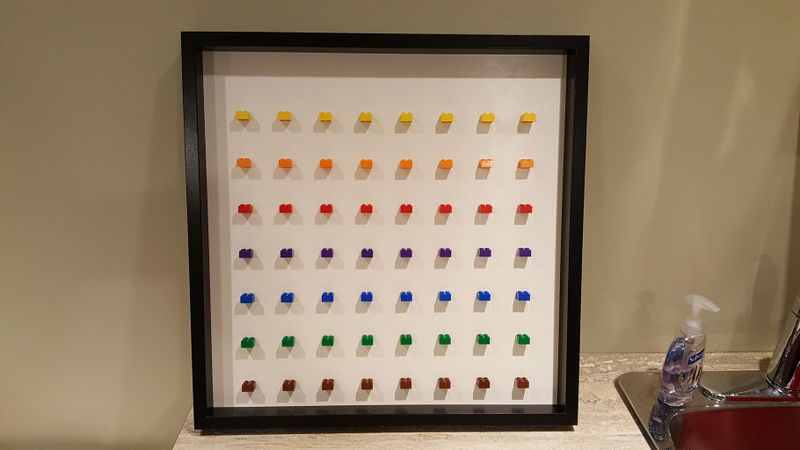
How To Convert An Ikea Picture Frame Into A Lego Minifig Display
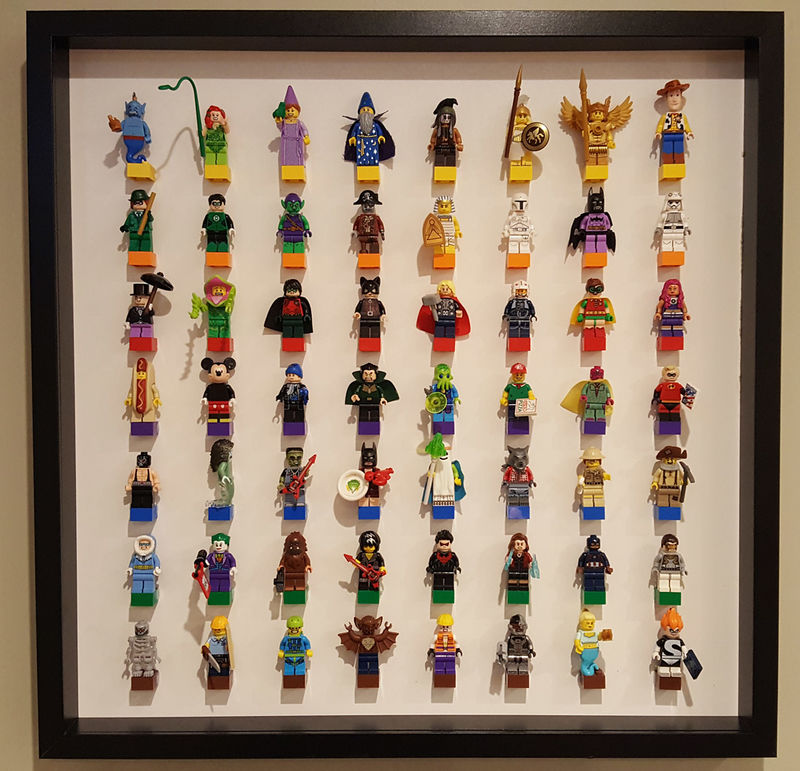
Here's a nifty idea for displaying your Lego minifigs. You can take an ikea Ribba picture frame, and make it into a display.
I can't take credit for the idea. Someone else posted this online, but they seem to have forgotten that Ikea uses metric measurements, and they did all of their measurements in inches. This resulted in bizarre spacings that are not easy to reproduce. Seriously, they had measurements like "3.07 inches". Where does one find an inch ruler in hundredths instead of base 2 fractions?? So this is the same thing, but in easy metric measurements, such as the 5.5cm spacing.
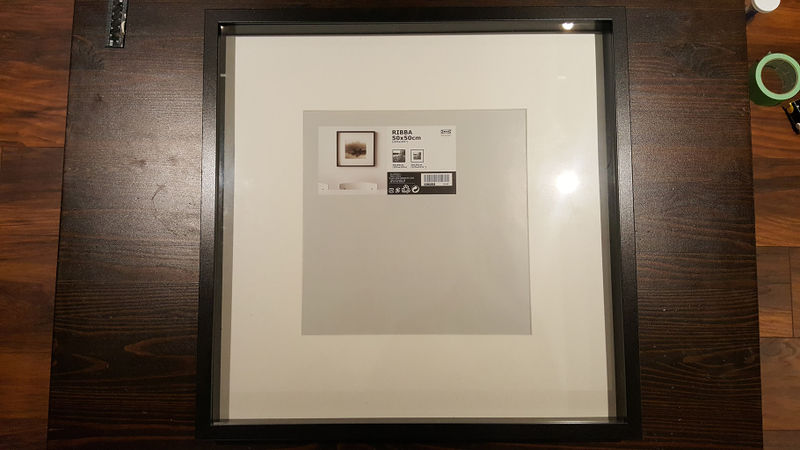
Buy an Ikea Ribba 50x50cm picture frame
Make sure it has glass in it, not the thin sheet of plastic. This is important for spacing.
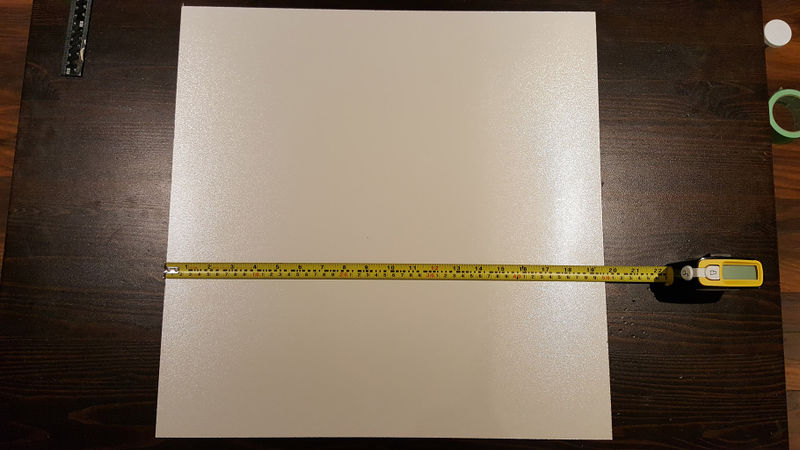
Buy a piece of hardboard the same thickness as the glass, and cut it to 50x50cm
I believe the glass is about 3mm or 1/8" thick. The hardboard is available at your local hardware store in a variety of finishes. They may also be able to cut it to size for you, at their risk, so you don't have to worry about messing it up and having to buy another.
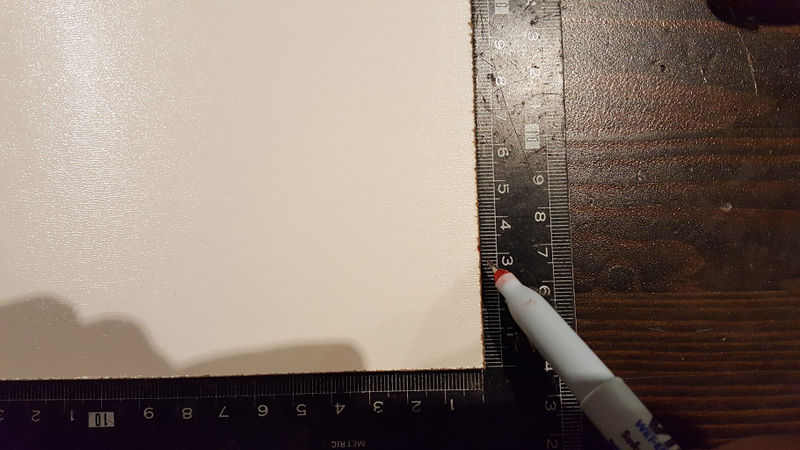
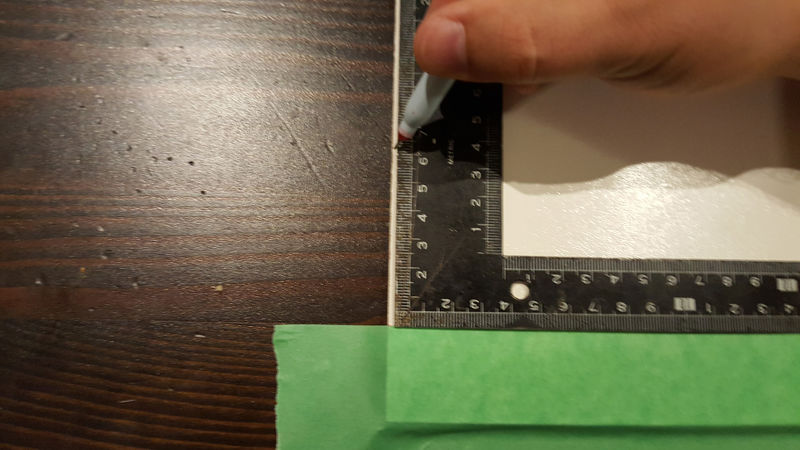
Measure and mark 3.1cm up from the bottom edge on the left and right sides
3.125cm, if you can be that precise...
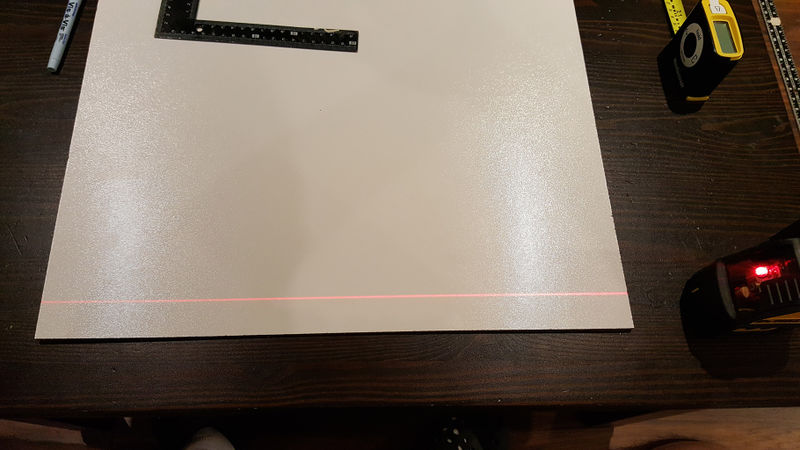
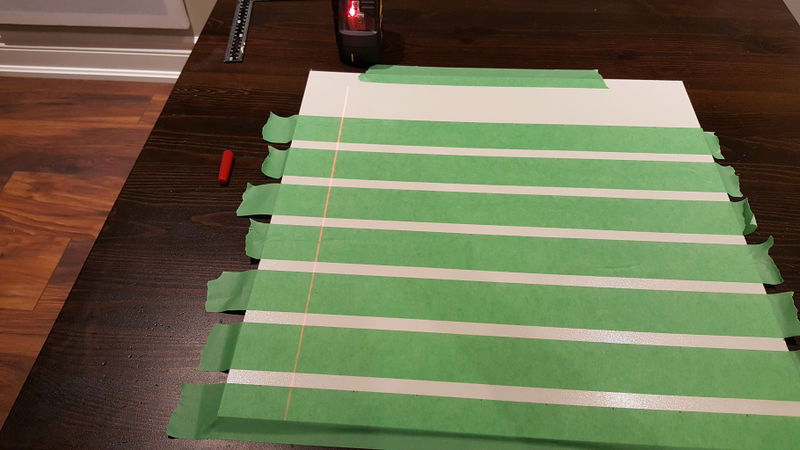
Make a straight line from your two marks
I'm using a laser, because lasers are awesome. You could otherwise put a ruler or other straight edge above your marks.
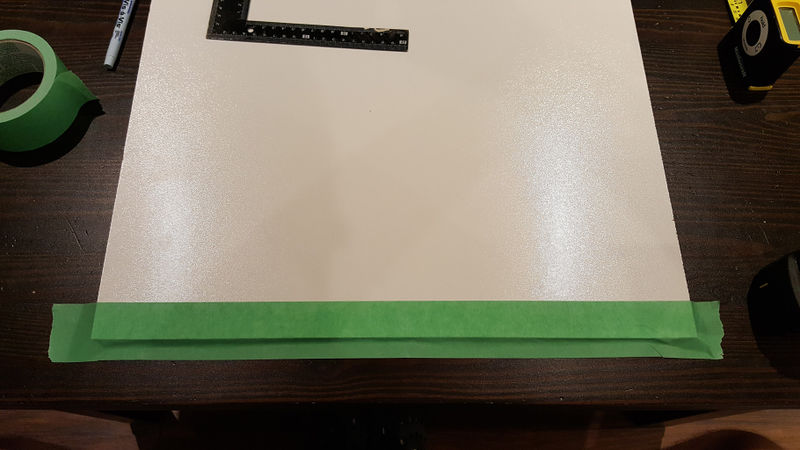
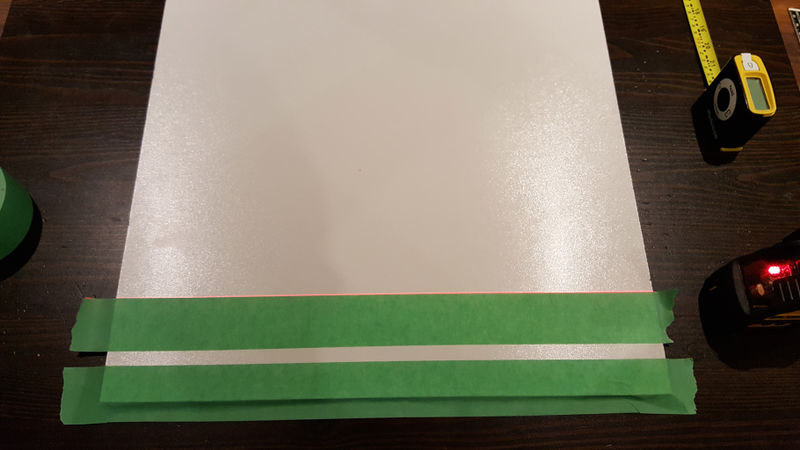
Put a piece of masking tape along the line
Using wide masking tape is handy, as you can tape your hardboard down to your work surface, so it will not move.
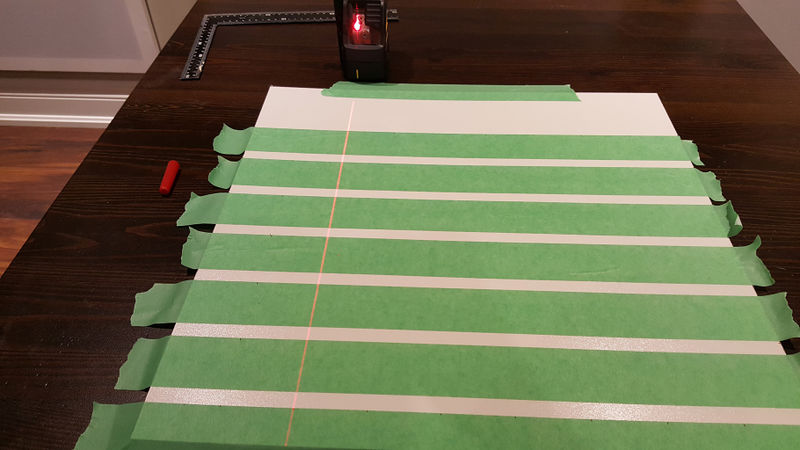
Measure and mark 6.25cm up from your masking tape on both sides
Again, 6.28cm if you want to be really precise.
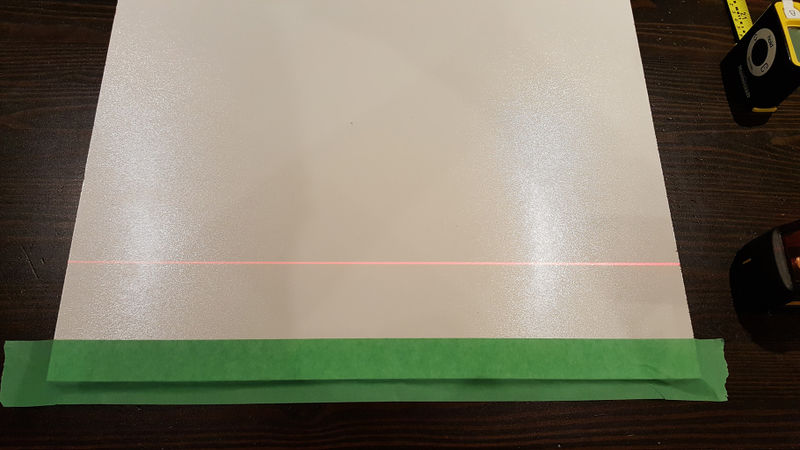
Another straight line to connect the dots
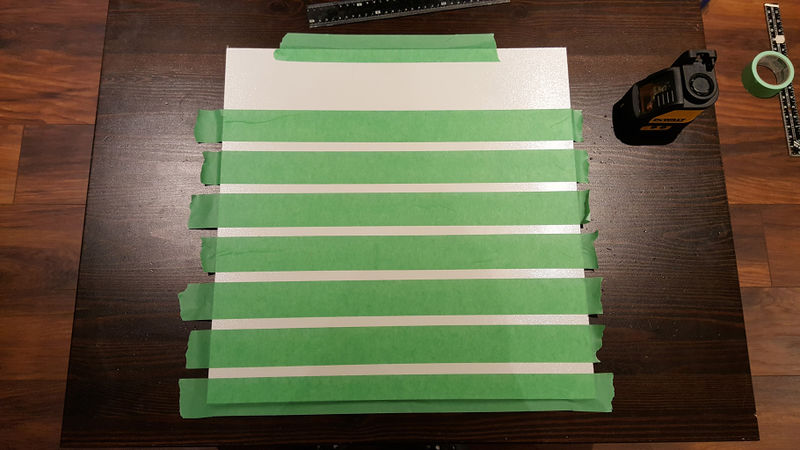
And tape along the line again
Repeat the 6.25cm interval and taping
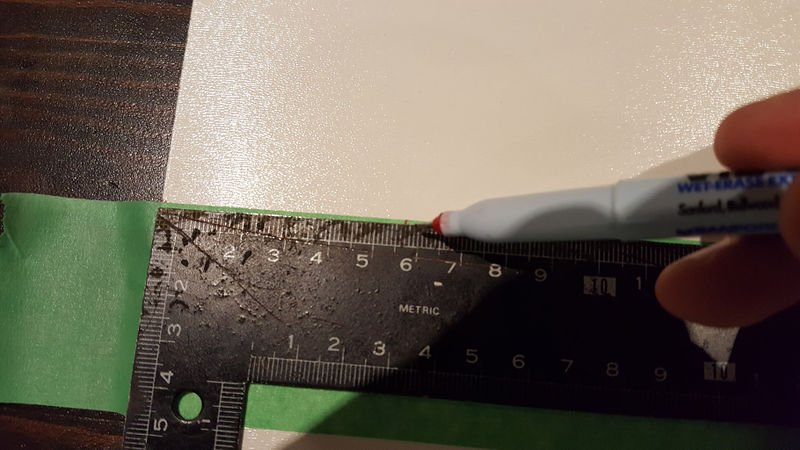
On the bottom and top tapes, measure and mark 5.7cm from the left side
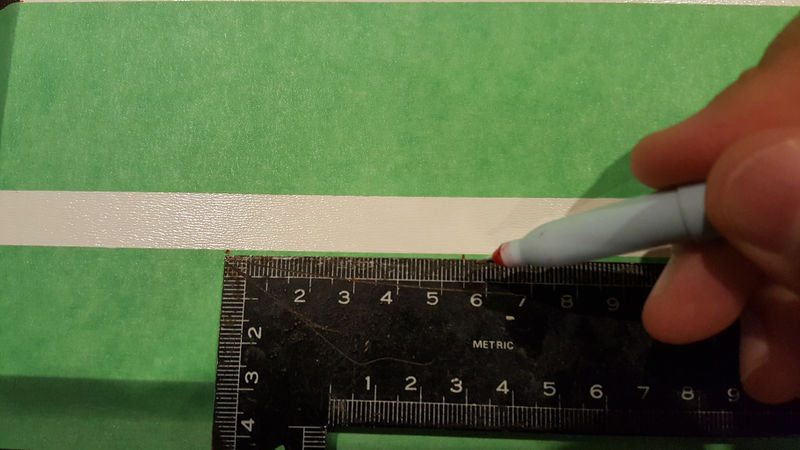
From that mark, mark every 5.5cm on the top and bottom tapes
Connect your marks on the top and bottom with a straight line, and mark on every piece of tape
Repeat for each column
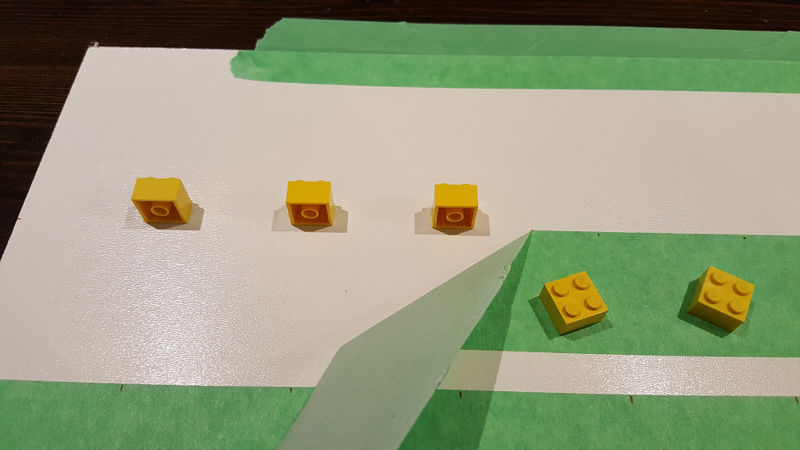
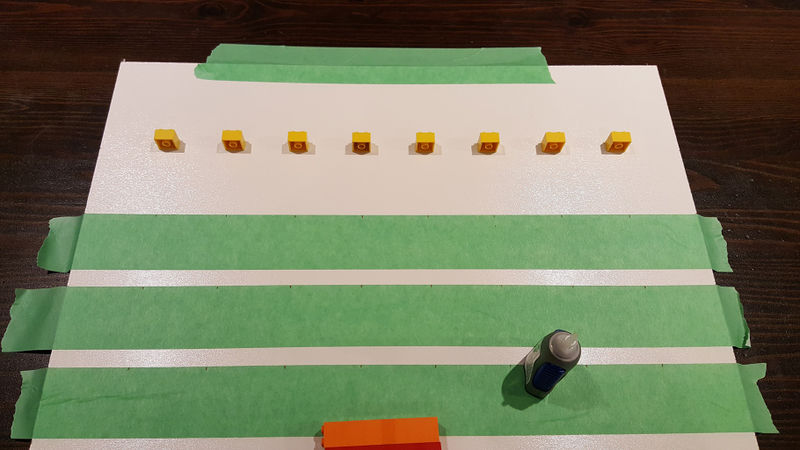
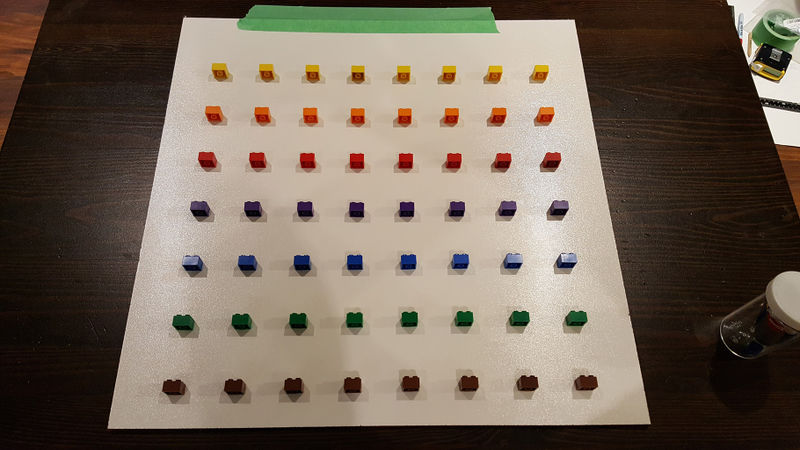
Starting from the top row, super glue a Lego brick, centered on each mark
Press firmly for a while with each brick, then peel back the tape, so it does not get super glued down to your hardboard.
Starting from the top row minimizes the chance of bumping into any bricks you have glued.
Repeat, repeat, repeat
And repeat for each row
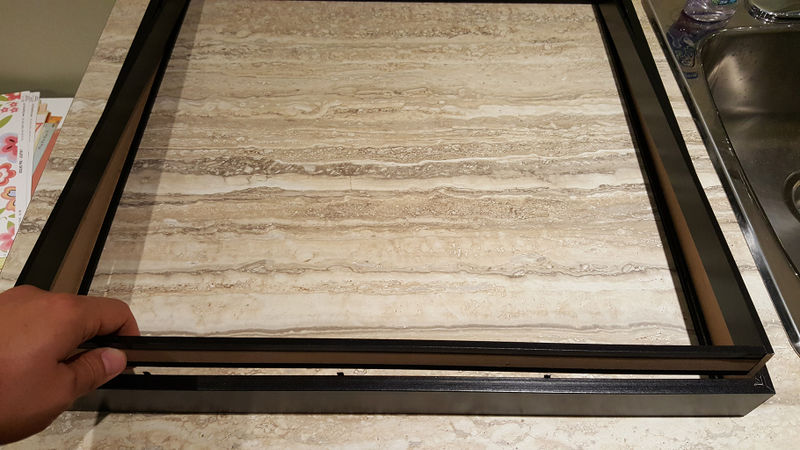
Remove the backing from the picture frame
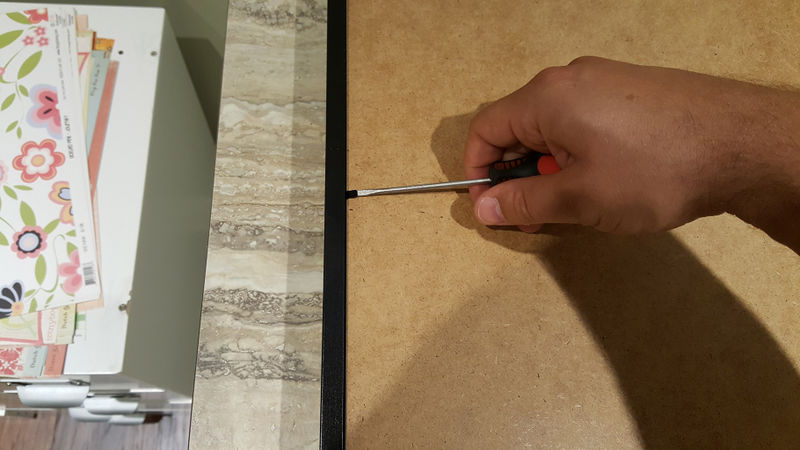
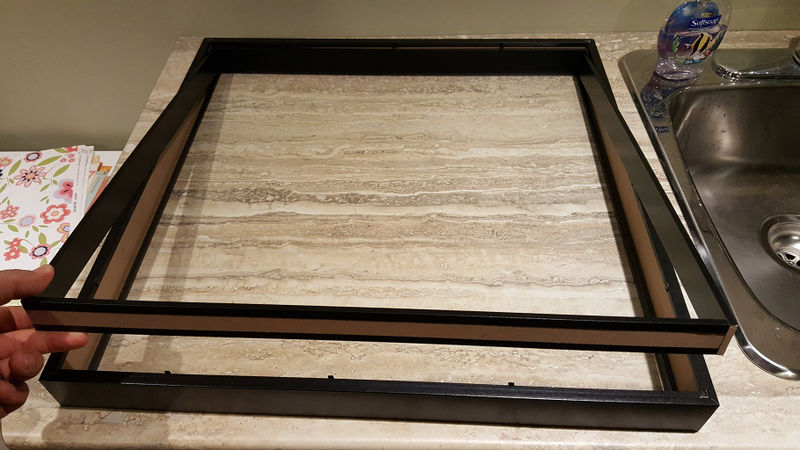
Remove the spacer from the picture frame
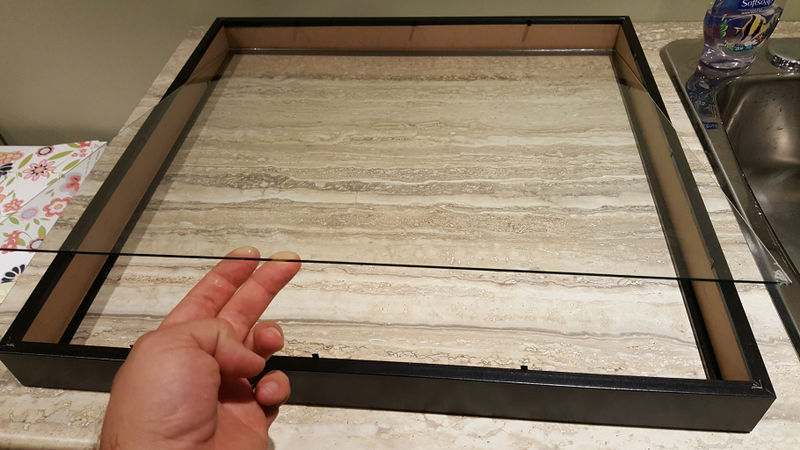
Remove the glass from the picture frame
It probably makes more sense to do this before buying the hardboard, to verify the thickness.
Reinsert the spacer
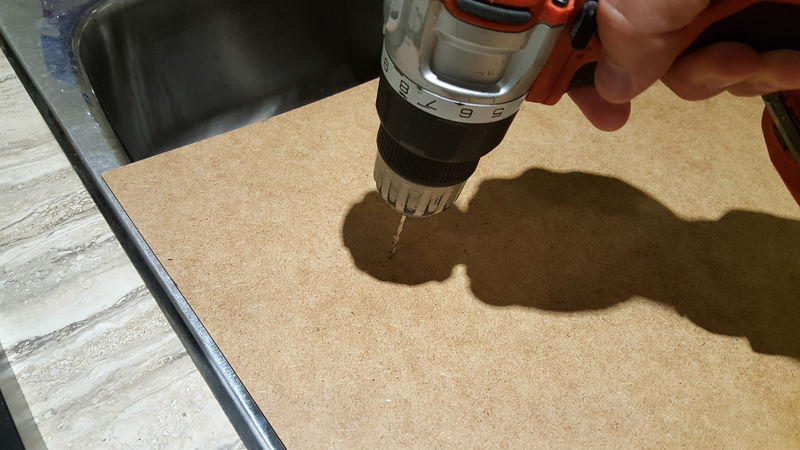
Drill two holes for picture wire
I don't trust the built in hanger to support the weight of all the minifigs and bricks, so I opted to add a loop of picture wire for additional strength. Feel free to skip this section if you're feeling reckless.
My holes are about 10cm from the top, and about 10cm in from each side.
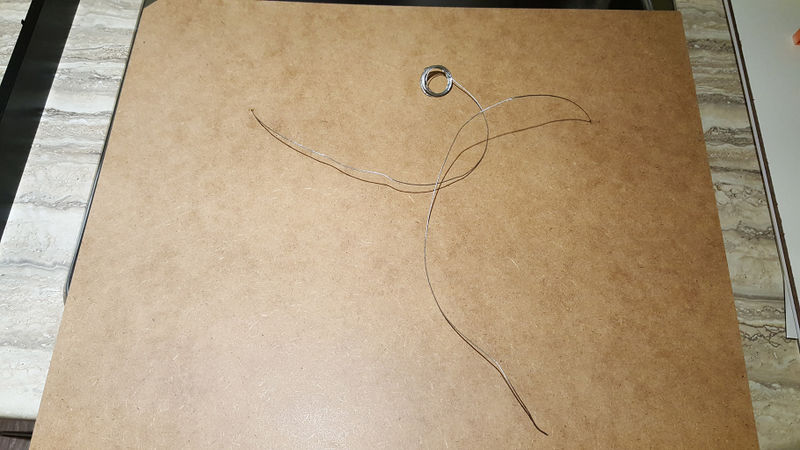
Feed picture wire in to each hole
The loose ends on mine are on the inside of the backing, so it looks a little cleaner and to possibly prevent it from coming loose.
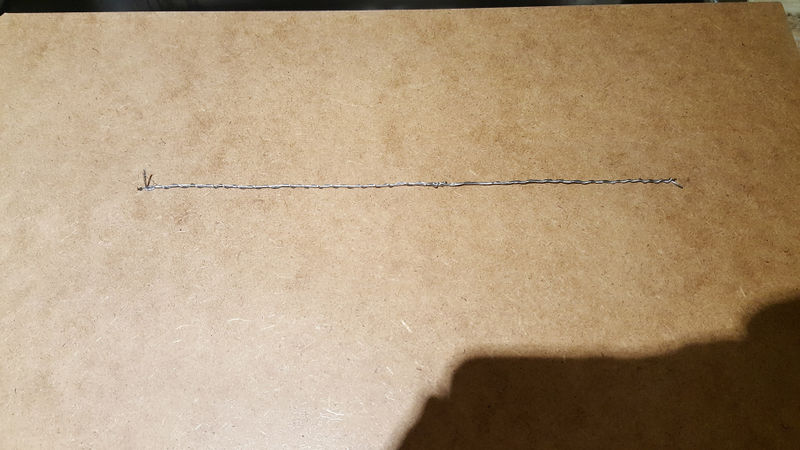
Tie the ends of your wire together
After the glue has had sufficient time to set, insert the hardboard
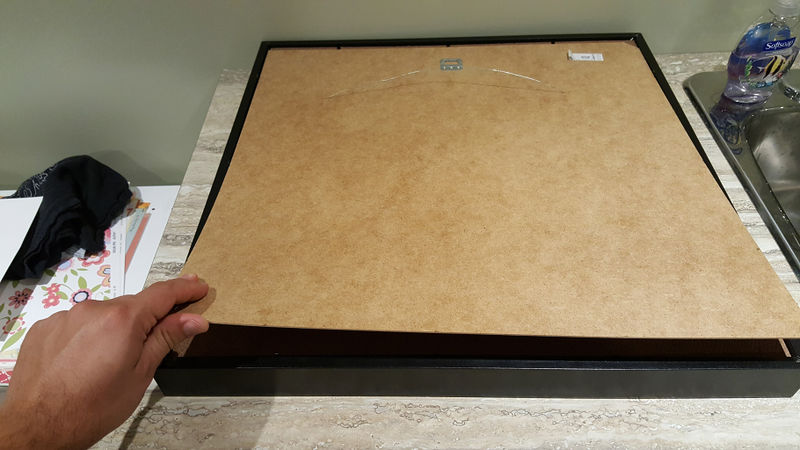
Insert the backing and secure the metal retaining tabs
Make sure that the backing is oriented the same as the bricks on the hardboard, otherwise your minifigs will be sideways or upside down.
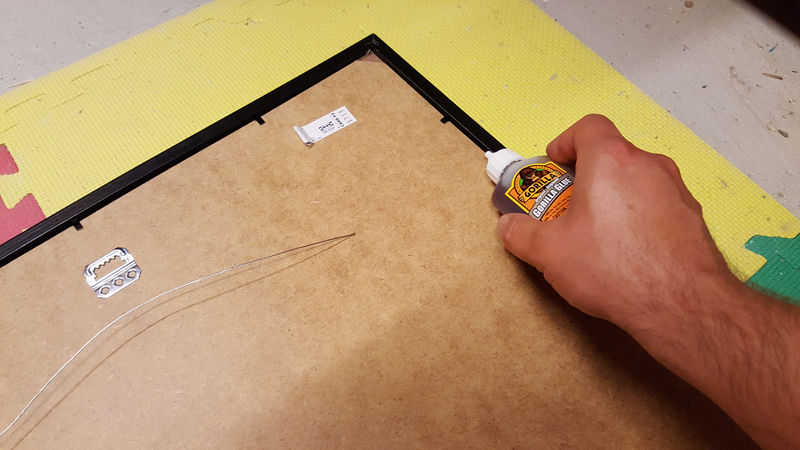
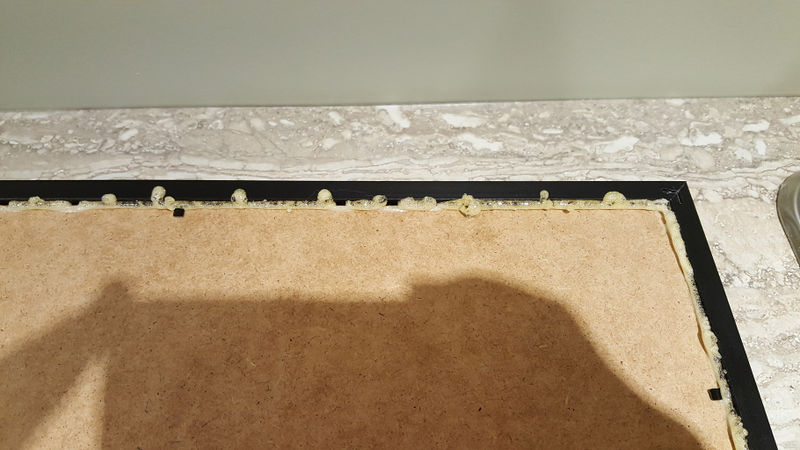
Optionally, add glue for extra strength
I used Gorilla Glue in the gap between the backing+hardboard and the frame. Don't use too much, as Gorilla Glue expands, and could seep in to the front of the picture.
